Sprite Size Tutorial
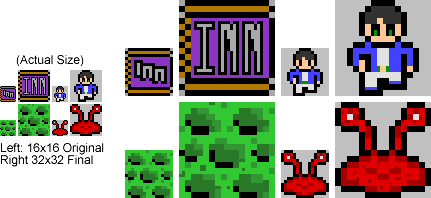
NEStalgia sprites are tile-based: 16x16 pixels each. Once finished, each sprite is doubled in size before being put in the game in order to produce the jagged 8-bit look.
When making a submission to the Artwork & Music Contrubitions board, contributors don't need to worry about scaling up their sprite submissions (it's optional). This tutorial exists to inform potential contributors about how and why NEStalgia sprites are resized, and how to avoid making a sprite with clashing resolutions.
Things to Avoid
Clashing Resolutions
When drawing NEStalgia overworld sprites or elements in an overworld tileset, everything should be drawn at a 16x16 resolution. Working in a sprite's native resolution is the best way to prevent a clash.
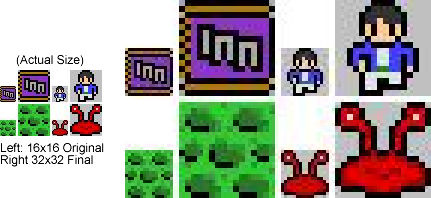
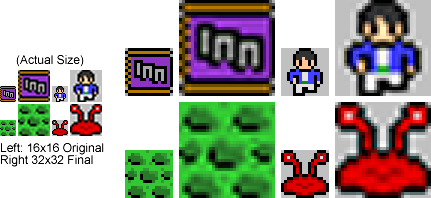
In the image above, the pixel artist edited the 32x32 scaled sprites instead of the 16x16 originals. This allowed for much smaller pixels (and more accurate detailing), but clashes with the established resolution of the game. Sprites with resolution issues like this will not be accepted, which is why it is always best to edit NEStalgia pixel art in its native resolution.
Color Compression
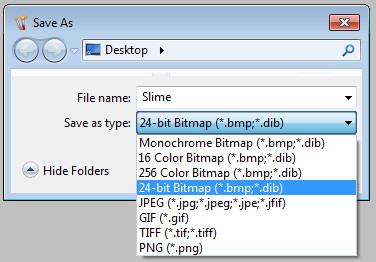
It is always best to save NEStalgia sprites as 24-bit BMP or PNG files. These formats do not compress the image or change the colors, as seen here:
It's easy to make the mistake of saving as a JPEG within MS Paint. Always be sure to select the proper file format when saving.
Anti-Aliasing
Resizing NEStalgia sprites using an image program with anti-aliasing will caused the resized sprite to be blurred:
Avoid this outcome by following the resizing instructions below.
How Resizing is Done
The key is to find an image program that won't anti-alias the image when it is resized. Luckily, all that you need is a pre-Windows 7 version of MS Paint.
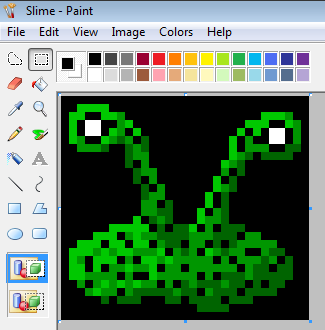
This image is 32x32 pixels (zoomed in at 800%). Because this monster sprite is still in its native resolution, that means that in NEStalgia terms it's technically composed of four 16x16 tiles. To prepare the monster sprite for NEStalgia we need to double its size.
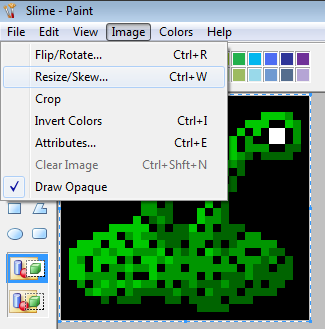
Press ctrl+A to Select All and then ctrl+W to open up the Resize and Skew menu.
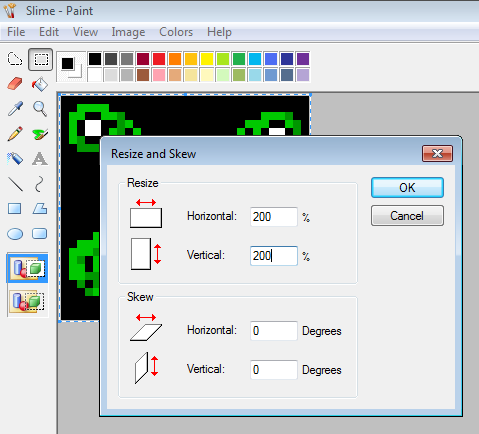
Set both the Horizontal and Vertical Resize to 200%. If you want to make the image much bigger (for demoing the sprite to other people, etc) you could increase it by 300%, 400%, 500% etc. If you are trying to convert an existing NEStalgia sprite back to its native 16x16 size, this also works in reverse by setting the resize to 50%.
Hit Okay, and you're done! Now that this sprite has been resized, it's ready for the development team to break up into tiles (now 32x32) and code into the game.
